
AccuAir eRecording by AccuAI
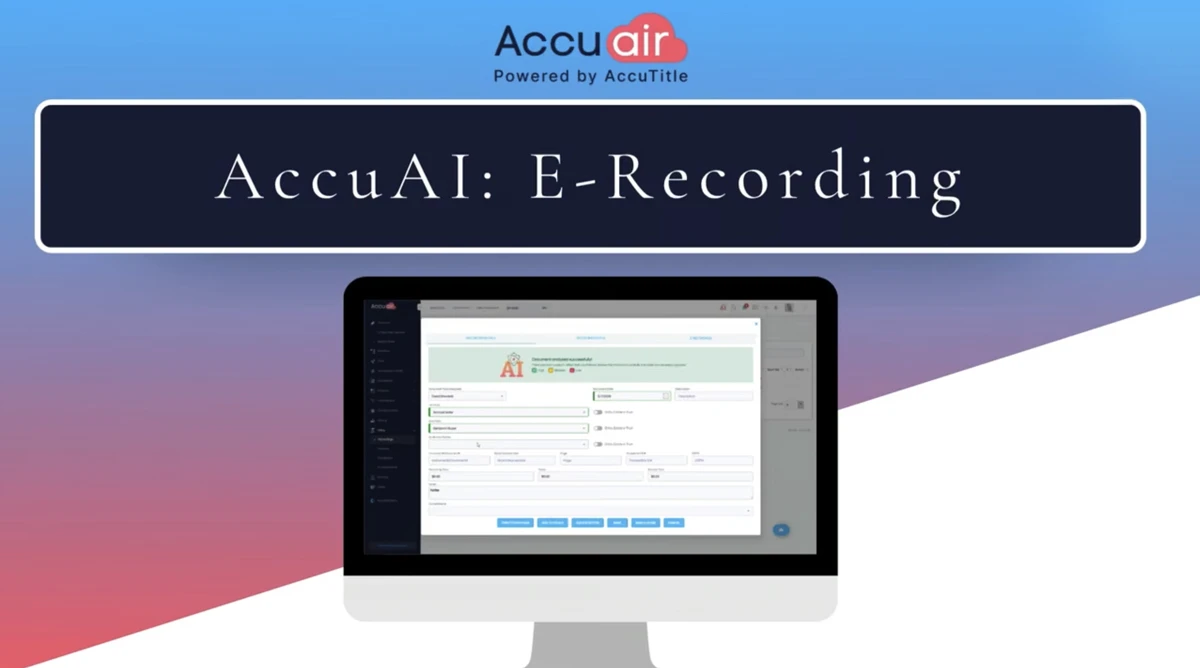
The AccuAI for eRecording feature inside AccuAir reads the document you are about to record, pulls out the data the county wants, and populates the eRecording fields for you, with a confidence level on each piece of extracted data so the title team knows what to double-check. In this AccuAir Insights walkthrough, you will see the full workflow from start to finish: opening Recordings under Policy on the transaction toolbar, choosing the document type (deed, mortgage, or another supported type), uploading a file via drag-and-drop or pulling one from the document section, and letting AccuAI parse it. The populated fields appear on screen alongside their confidence levels so the team can review, add, or correct anything before saving. From there, switch to the E-Recordings tab to pick your eRecording vendor and the eRecording type, then return to the Policy Recordings screen, queue documents in the order you want them recorded, and submit through the floating toolbar. The result is fewer hand-keyed fields, fewer rejections, and a faster path from signing to recorded for title and settlement teams handling deeds, mortgages, and other recordable documents every day.
Transcript:
This is AccuAir’s automated eRecording workflow using AccuAI for eRecording. To access the AI for eRecording go to Policy on the transactions left-hand toolbar, then select Recordings. Next select the document type for eRecording. This can be deed, mortgage or another anticipated document type listed.
This will open the AccuAI for eRecording screen. You can upload a document using the drag or drop feature, or select a document already stored in your document section. This includes documents set with a status of recordings or all documents. Select the document and click SAVE.
The AI will now read and process the document, extracting key data to automatically populate the required fields for eRecording. The populated fields will then be displayed along with confidence levels for the extracted data. Please review the information carefully and add or modify any details as needed before saving the content.
After Saving the recording details, select the tab labeled E-Recordings. Choose your eRecording Vendor and eRecording type if required. Then click Save & Close.
You will now be on the Policy Recordings screen. Select each document you will be eRecording in the order you wish to record them. Once selected, hover over the floating toolbar and select the Record icon. Your eRecording will be submitted.
This completes our demonstration. Thank you.



* These fields are required.